
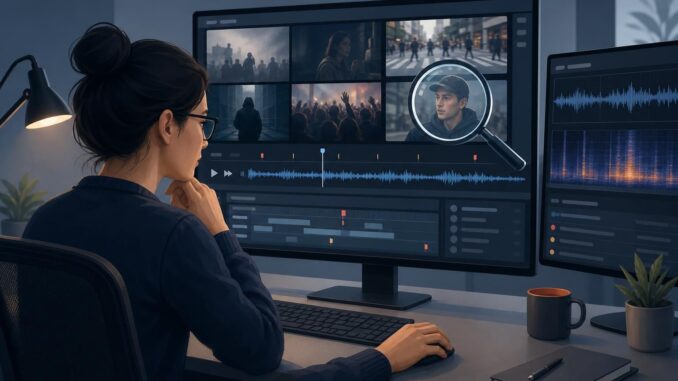
Moderators, creators, and small teams increasingly need a fast, reliable way to triage suspicious audio and video. You don’t have to be a forensic expert to make a reasonable initial judgment: focusing on sensory cues, provenance, lightweight forensic checks, and a clear escalation path will reduce false positives and help you handle risky content responsibly.
90-second triage checklist (do this first)
- Pause distribution—don’t share or publish the file.
- Capture a secure copy and note where you found it (URL, user, timestamp).
- Run quick sensory checks: do visuals or audio feel slightly off?
- Check metadata/provenance and ask the uploader for the original file.
- Decide: resolve with basic checks, escalate to a specialist, or refer to platform/law enforcement.
How to evaluate visual deepfakes (video and images)
Visual red flags to look for
- Subtle facial/talking mismatches: awkward mouth shapes, lip-sync drift, or eyes that don’t track light naturally.
- Skin and hair artefacts: blurred edges, inconsistent texture, or strange reflections on skin/glasses.
- Unnatural blinking and micro-expressions: too regular, too rare, or mismatched blinks.
- Background and lighting inconsistencies: shadows not matching light sources, moving background anomalies, or mismatched perspective.
- Frame-level glitches: frame interpolation smearing, unexpected frame jumps, or temporal flicker.
Simple checks you can run quickly
- Play the video at normal and 0.5x speed—look for lip-sync and micro-expression mismatches.
- Scrub through frames—note any sudden changes at face edges or in reflections.
- Extract stills for reverse image search to find earlier versions or similar frames online.
- Compare face details across frames—if the face texture, jewelry, or clothing changes subtly, that’s suspect.
Example
A short interview clip appears authentic until you slow it down: the subject blinks every three seconds and the reflection in their glasses doesn’t change with head movement. Those two cues together strongly suggest manipulation.
How to evaluate audio deepfakes (voice recordings and tracks)
Audio red flags to listen for
- Unnatural prosody and emphasis: odd pacing, robotic or overly regular rhythm, flat intonation on emotional words.
- Missing or odd breathing, inconsistent mouth noise, or clipped consonants that don’t match normal speech.
- Background noise mismatch: room tone or ambient sounds that don’t match the supposed recording environment.
- Spectral glitches: unnatural frequency bands, sudden hiss, or unnatural silence segments.
Quick audio checks
- Listen with headphones and at different volumes—some artifacts become obvious at low or high gain.
- Open the file in a waveform/spectrogram editor—look for unnatural flatness or repeating patterns in the spectrogram.
- Try transcription and compare phrasing to known speech patterns of the claimed speaker.
- If available, compare with an authenticated voice sample for cadence and idiosyncrasies.
Example
A voicemail sounds plausible until a spectrogram shows repeated narrow-band tones under certain syllables—this can indicate synthetic reconstruction artifacts from voice synthesis.
Provenance and metadata checks
What to check
- File properties: container type, creation/modification timestamps, compression level.
- Metadata fields (EXIF/XMP) for images and videos—camera model, software tags, GPS data when present.
- Platform context: original upload URL, account history, and whether the file was recompressed by a social site.
How to check safely
- Use a metadata viewer (e.g., exiftool) on the original file, not a downloaded copy from social platforms that often strip metadata.
- Request the highest-quality original. Source files (uncompressed or minimally compressed) retain more forensic signals than MP4/JPEG copies.
- Record chain-of-custody: who provided the file and any transformations it underwent.
Lightweight forensic tools and practical prompts
Tools you can adopt without deep training
- FFmpeg: extract frames, convert containers, or compare durations.
- Image reverse-search services: locate similar frames or earlier versions online.
- Spectrogram and editor tools (e.g., Audacity): inspect frequency content and breath patterns.
- Metadata readers (exiftool) to inspect embedded metadata fields.
- Simple face/voice comparison: visual side-by-side frame comparison and audio waveform overlays.
Verification prompts to ask the uploader
- “Can you share the original file (uncompressed) and how it was captured?”
- “Who recorded this and can they confirm date, time, and location?”
- “Is there any behind-the-scenes footage or corroborating recordings?”
- “Are any parts edited, stitched, or otherwise modified? If yes, how?”
Escalation, privacy, and ethical handling
When to escalate
- Potential legal harm: threats, impersonation for fraud, non-consensual intimate material, or public figure manipulation with clear malicious intent.
- High reach risk: content already shared widely or likely to cause reputational or safety harms.
- Technical ambiguity: your checks are inconclusive and the content could materially affect people’s safety or rights.
How to handle evidence responsibly
- Preserve originals: store copies in a secure, access-controlled location.
- Limit sharing: share only with authorized reviewers or law enforcement, and with redaction if needed.
- Document actions: note timestamps, analysis steps, tools used, and decisions to remove, label, or escalate.
- Respect privacy: avoid republishing or amplifying non-consensual content while investigating.
Limitations and realistic expectations
Detection is probabilistic. AI-generated audio and video are improving quickly; some deepfakes will be subtle enough to evade basic checks. Conversely, benign edits or low-quality originals can look suspicious. Treat initial findings as indicators, not proofs. For high-stakes cases, involve professional digital-forensics experts who can perform deep analysis and maintain legal chain-of-custody.
Practical moderation workflow template (step-by-step)
- Contain: remove or restrict the file from public view while investigating.
- Secure: save the highest-quality copy, record where it was found, and who submitted it.
- Triage (90 seconds): sensory check (visual/audio), note obvious red flags.
- Verify (5–20 minutes): metadata check, reverse image search, spectrogram inspection, request originals or corroborating material.
- Decide: restore with a label, keep removed, escalate to specialist, or report to law enforcement/platform depending on harm/risk.
- Document: final disposition, evidence preserved, and communication with involved parties.
Conclusion
Detecting deepfake audio and video relies on a mix of careful observation, quick provenance checks, and modest forensic tools. Use the 90-second triage, probe with the practical checks above, and escalate when the stakes are high or analysis is inconclusive. Clear documentation and privacy-conscious handling will protect people and keep your decisions defensible.
FAQ
1. How reliable are automated deepfake detectors?
Automated detectors can flag common artifacts but are not foolproof. They produce false positives and false negatives. Use them as one signal among many—combine automated output with human review and provenance checks.
2. Can I always tell a deepfake by eye or ear?
No. Some deepfakes are convincing, especially at low resolution or compressed formats. Human inspection is effective for many cases but not a guaranteed test—use it alongside metadata and tool-based checks.
3. What should I ask someone who submits suspicious content?
Request the original uncompressed file, the recording device used, the person who captured it, and any additional corroborating footage or witnesses. Ask for a short statement about how the file was obtained.
4. When should I involve law enforcement?
Contact law enforcement for suspected criminal activity (threats, fraud, non-consensual sexual content, impersonation used to commit crimes) or when preservation of evidence with chain-of-custody is essential. If unsure, consult your legal or compliance team.